Custom Newborn, Baby & Family Portraiture – Brisbane, Australia

Newborn Photography Brisbane

The best Kmart Cubby house hack

I've created the best Kmart cubby house hack, ever!

Brisbane Christmas photographer

kmart cubby house hack

We’ve all heard of a great Kmart Cubby House hack, but admiring viral, kids-size villas on Facebook was as close as I’ve ever gotten to the real thing.

My kids are a little older, so (unfortunately!) we missed the age of creating a brand new Kmart purchase into a toddler library or tiny-home, with a battery-operated ride-on parked next to it for our kids.

That was, until I was sketching ideas for 2022’s Christmas photography sessions.


sketching it up

My vision was a life-size Gingerbread House…

It was an optimistic vision, full of end-goals in mind, with no idea of how to actually achieve it.

Exactly what do I use to get this little dwelling large enough for kids, strong enough to withstand toddler-use, and quirky enough to appeal to parents?

Oh, PLUS, I need to photograph it for my Christmas sessions, so it must be safe, gorgeous, creative, and absolutely the best thing EVER.

I sketched and searched and googled and Marketplace-d until I realised a cubby was the perfect size, but, I just couldn’t find the right one.

Second-hand cubbies were gross, old, rickety or unappealingly sold as “venture through our un-mowed jungle of a backyard and take it apart yourself”.
I have a fear of spiders, and cobwebs, so, No thanks. 

cue, Kmart cubby house hack

New cubbies are expensive so I kept searching. Plus, I knew I wanted to turn it into something fabulous, so it just needed to have great bones – it didn’t need to be perfect.

I just couldn’t find what I wanted, that wasn’t the size of a tiny home, or less than 4 figures.

Cue, Kmart cubby house hack.

I scrolled past it a few times as I admit, it was pretty boring-looking.
The perfect kid-size box, but slightly plain. Nothing like a Gingerbread House though.

Ho-hum pine colour. In need of a lick of paint.

Not sure I can make that work.

But, I was running out of ideas. 

I could “click & collect” it. And no spiders. 

So, I did what anyone else would do?

“Add to cart”.

the huge task ahead

My excitement waned a little when I ripped it open and saw a huge pile of loose timber bits and a fold-out instruction list. Luckily I have an enthusiastic 12 year old with a passion for DIY, and a Husband who loves solving problems. 

Now honestly, I’m feeling the pressure as I walk past it every day and nothing comes to mind.
So there it sat, assembled, waiting to be Cinderella’d and find the shoe that fits.

Omg. I’ve just invested in a plain, boxy, slightly ugly cubby.

It’s stitting in my house, waiting to be loved, and I’m really feeling uninspired, but I’m desperately wanting to build something fantastic for my clients! Ughhhh.

Back to Pinterest. Exactly what does a Gingerbread house look like?

Pinterest showed me perfect baked goods with dustings of icing sugar on their roofs, rosemary Christmas trees and icing windowsills. That looks wonderful in a tiny, edible version – but I’m not sure about a 1.5 metre timber one! This is a wooden box.

Suddenly it’s feeling a little overwhelming, so I beg myself to think, think, THINK!
What would a life-size Gingerbread House look like?

grab the power tools

I begin to have thoughts about the construction. Or lack there-of. It doesn’t look like a Gingerbread House.

Plus, I need to photograph this thing! So I’m thinking of lighting and placement at the same time.

The windows block the view and I won’t be able to see the kids inside, so they have to go.

Find a jigsaw in the garage. Google how to attach jigsaw blades, and off we go!

No shoes, but I am wearing goggles I found in the garage. Safety first! Windows are out, and the door is also removed. It’s a weird shape but nothing that won’t sandpaper out.

diy gingerbread house

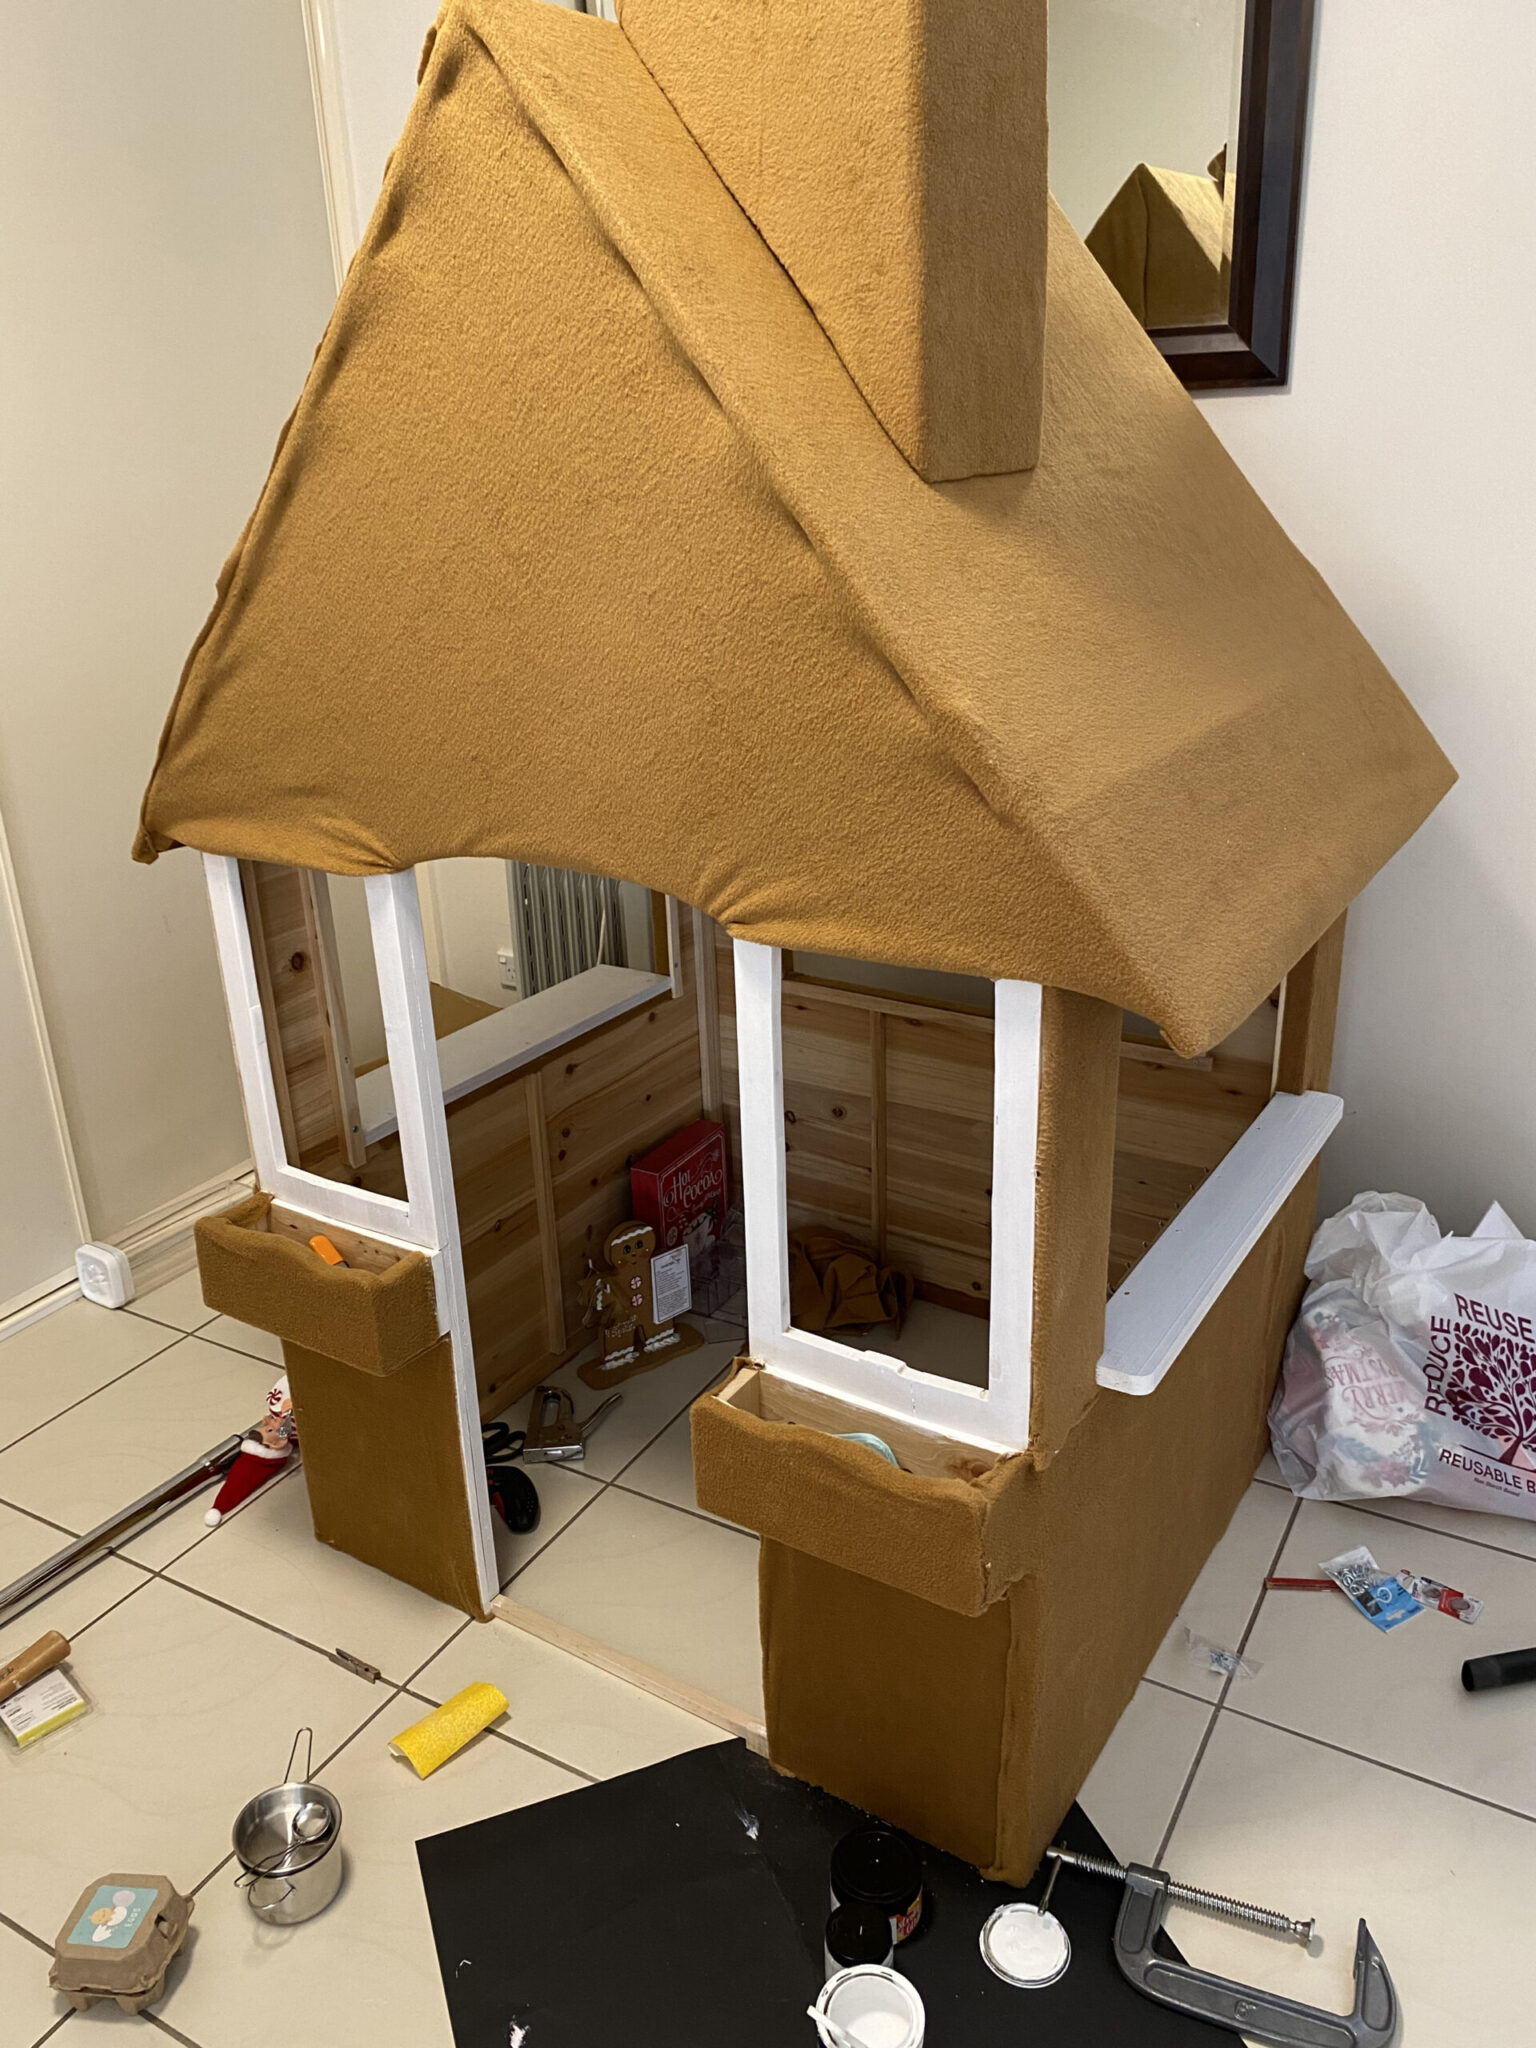
Initially I was going to paint the outside, but I kept coming back to the delicious, biscuit-look of gingerbread, and paint would look too hard. I needed fabric on the outside! Something brown, soft, and gingerbread-y.

If you’re looking for this in Spotlight, just pretend you’re sewing a huge bear outfit, and you’ll find the section with the soft brown fabric. 

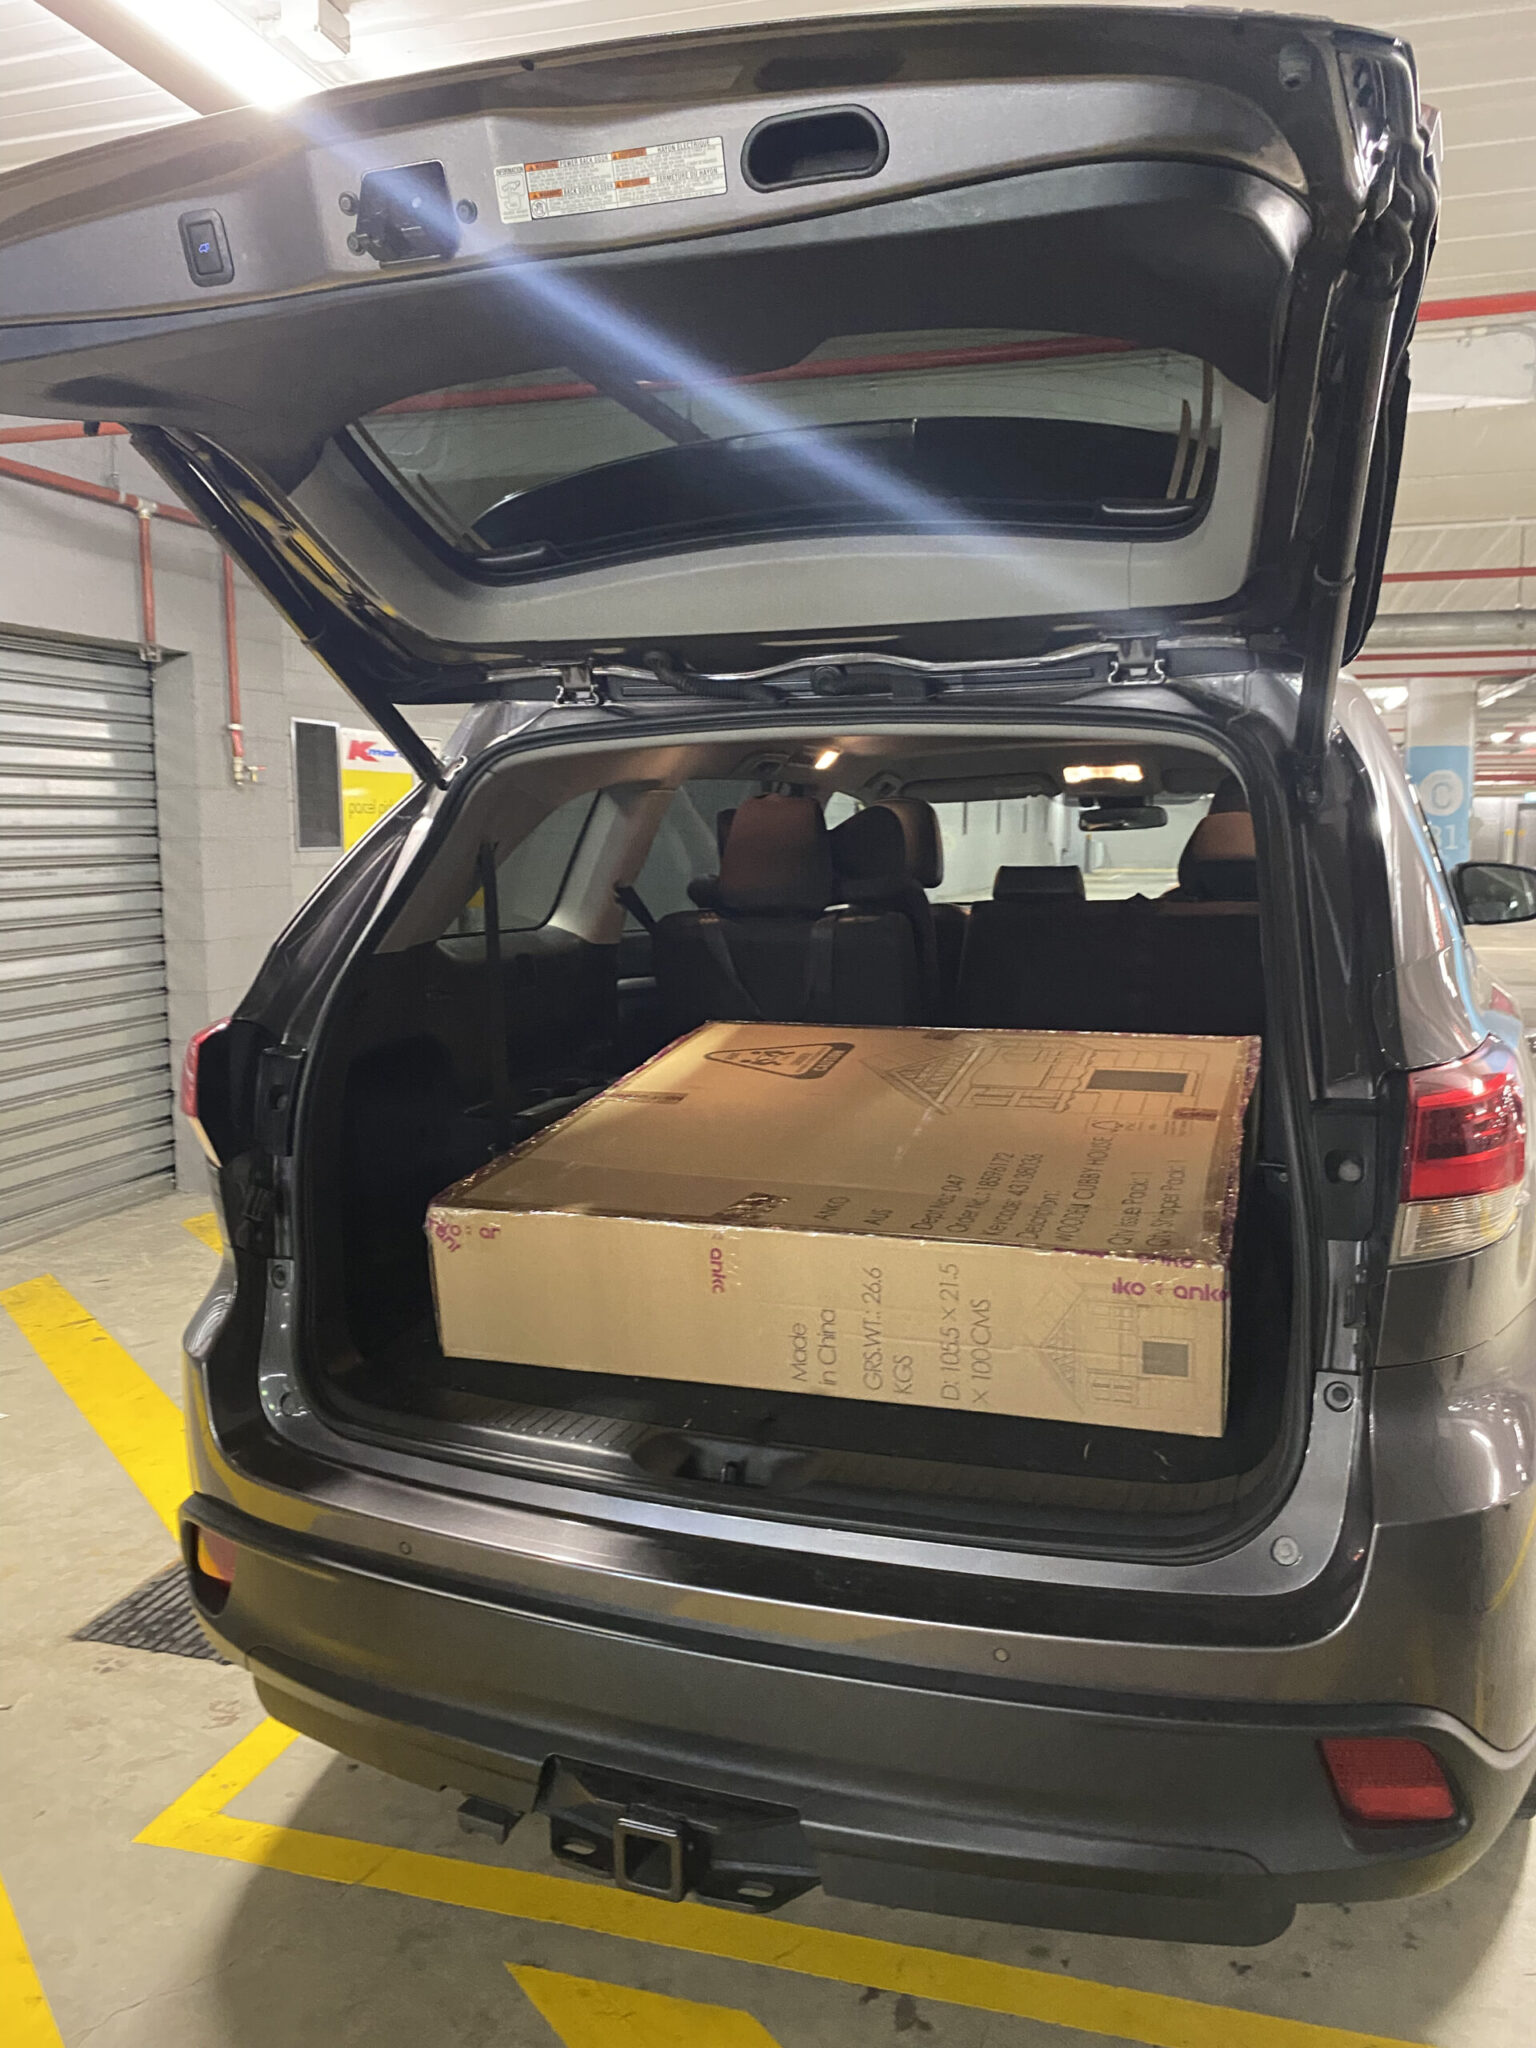
I roughly measured approximately what I’d need to wrap the cubby, at the same time having limited idea how much I would actually need.

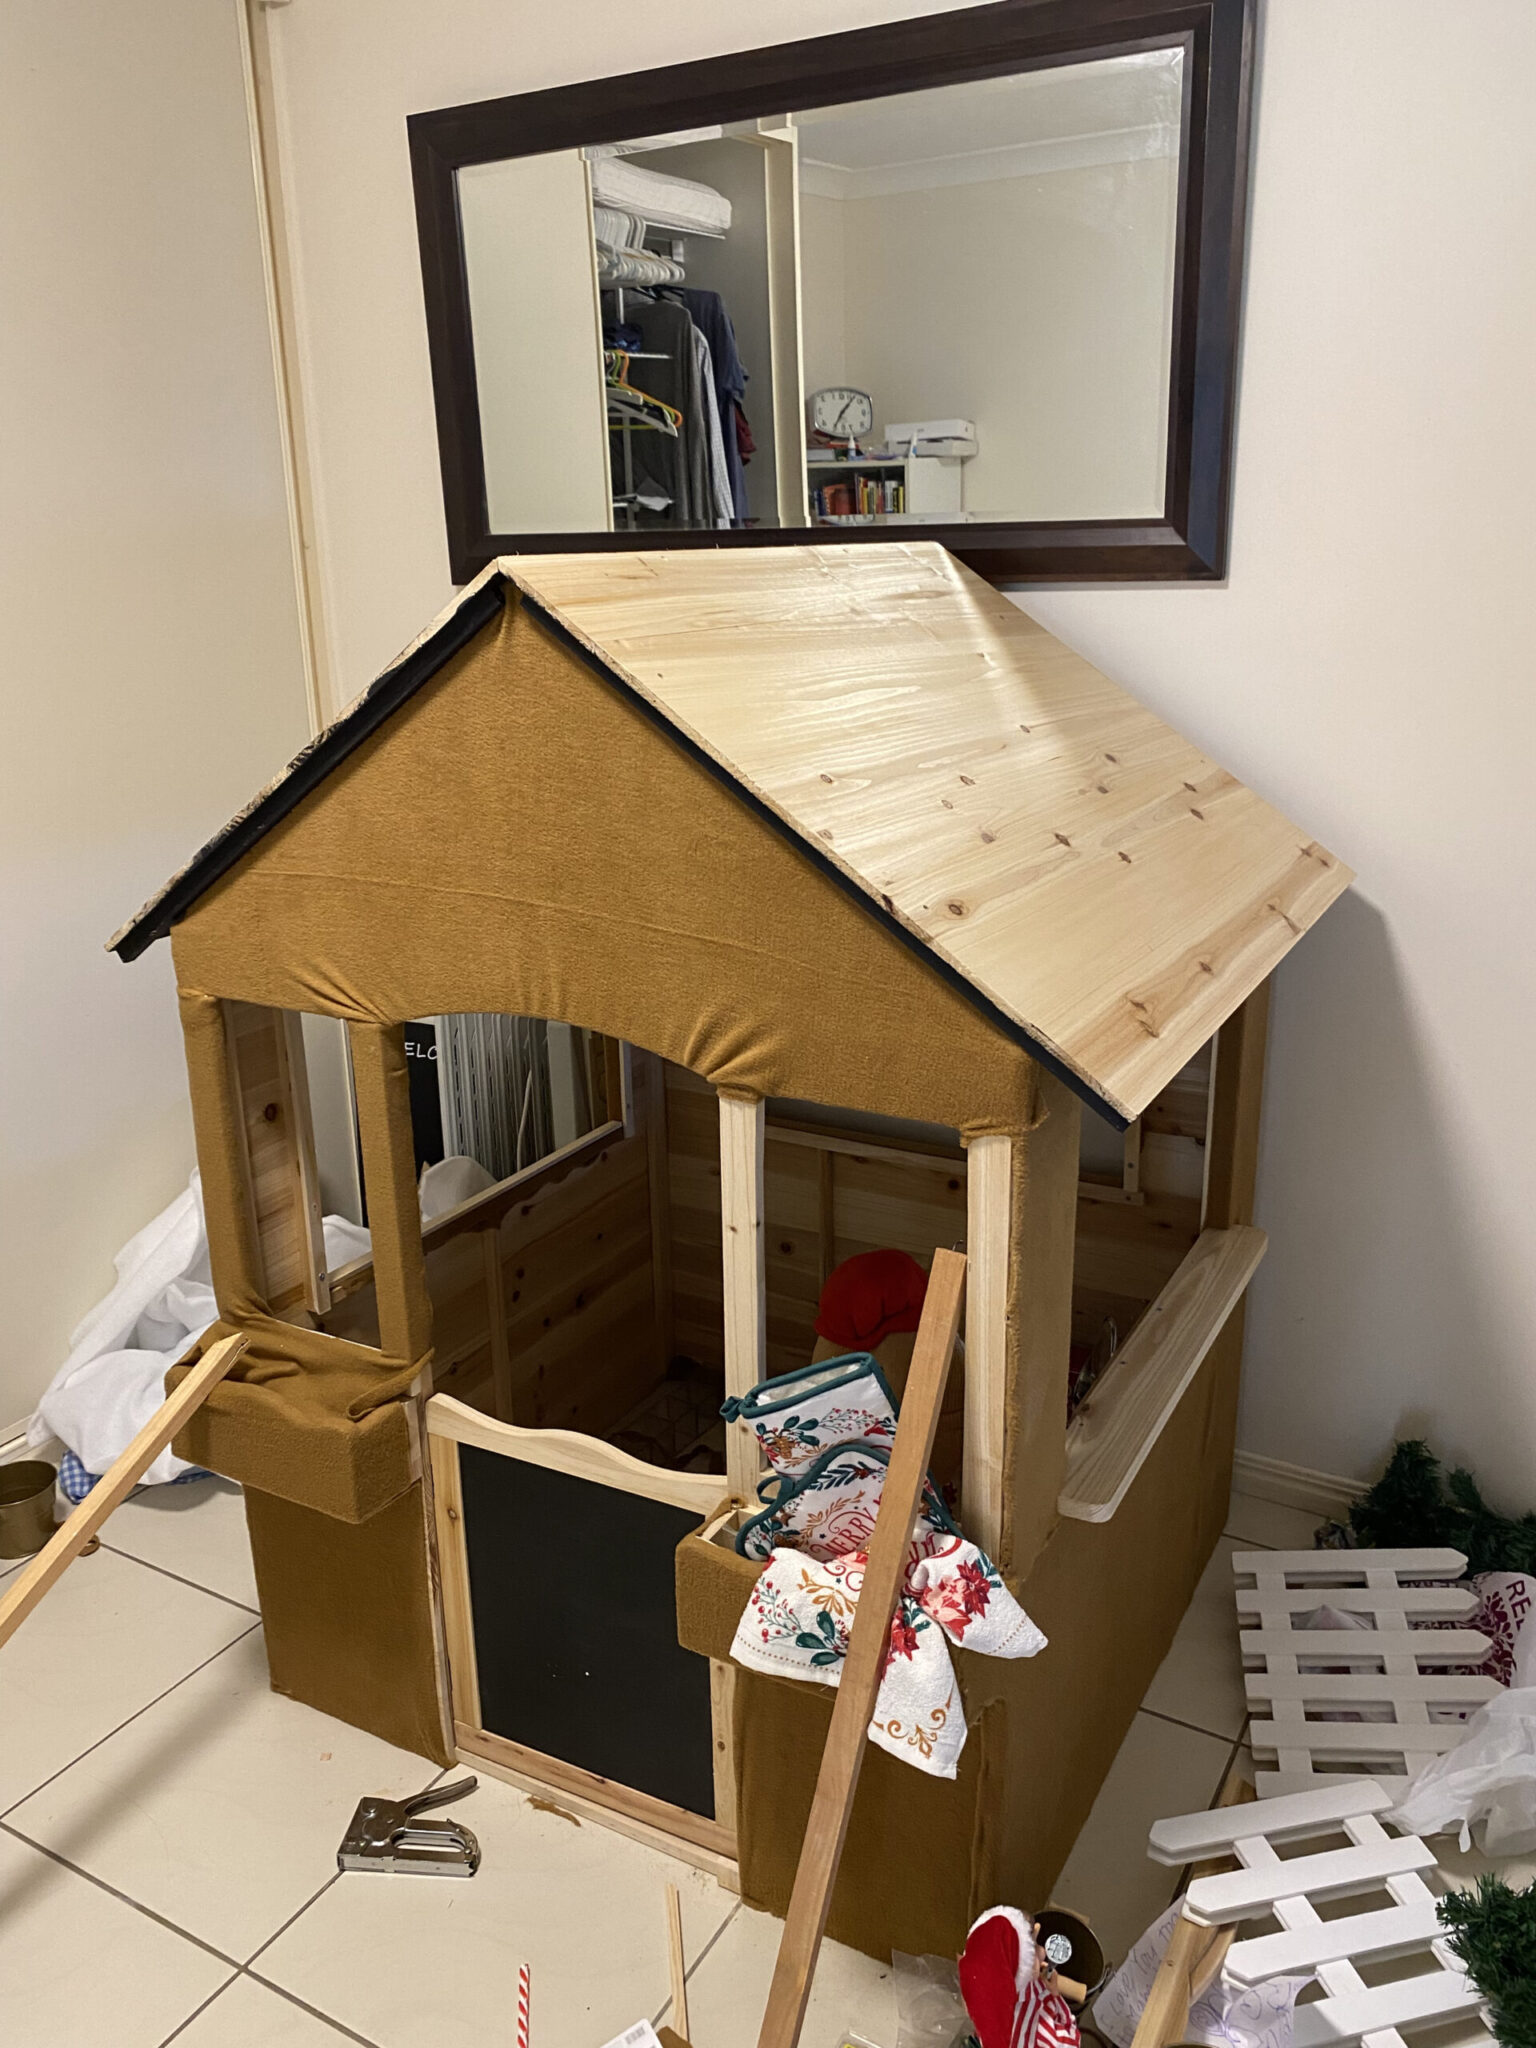
I excitedly headed home and wrapped it, securing it with my trusty staple gun as I went.

Hubby tells me to “measure twice, cut once” but I’m a creative so…

Measure vaguely, cut whenever I want. 

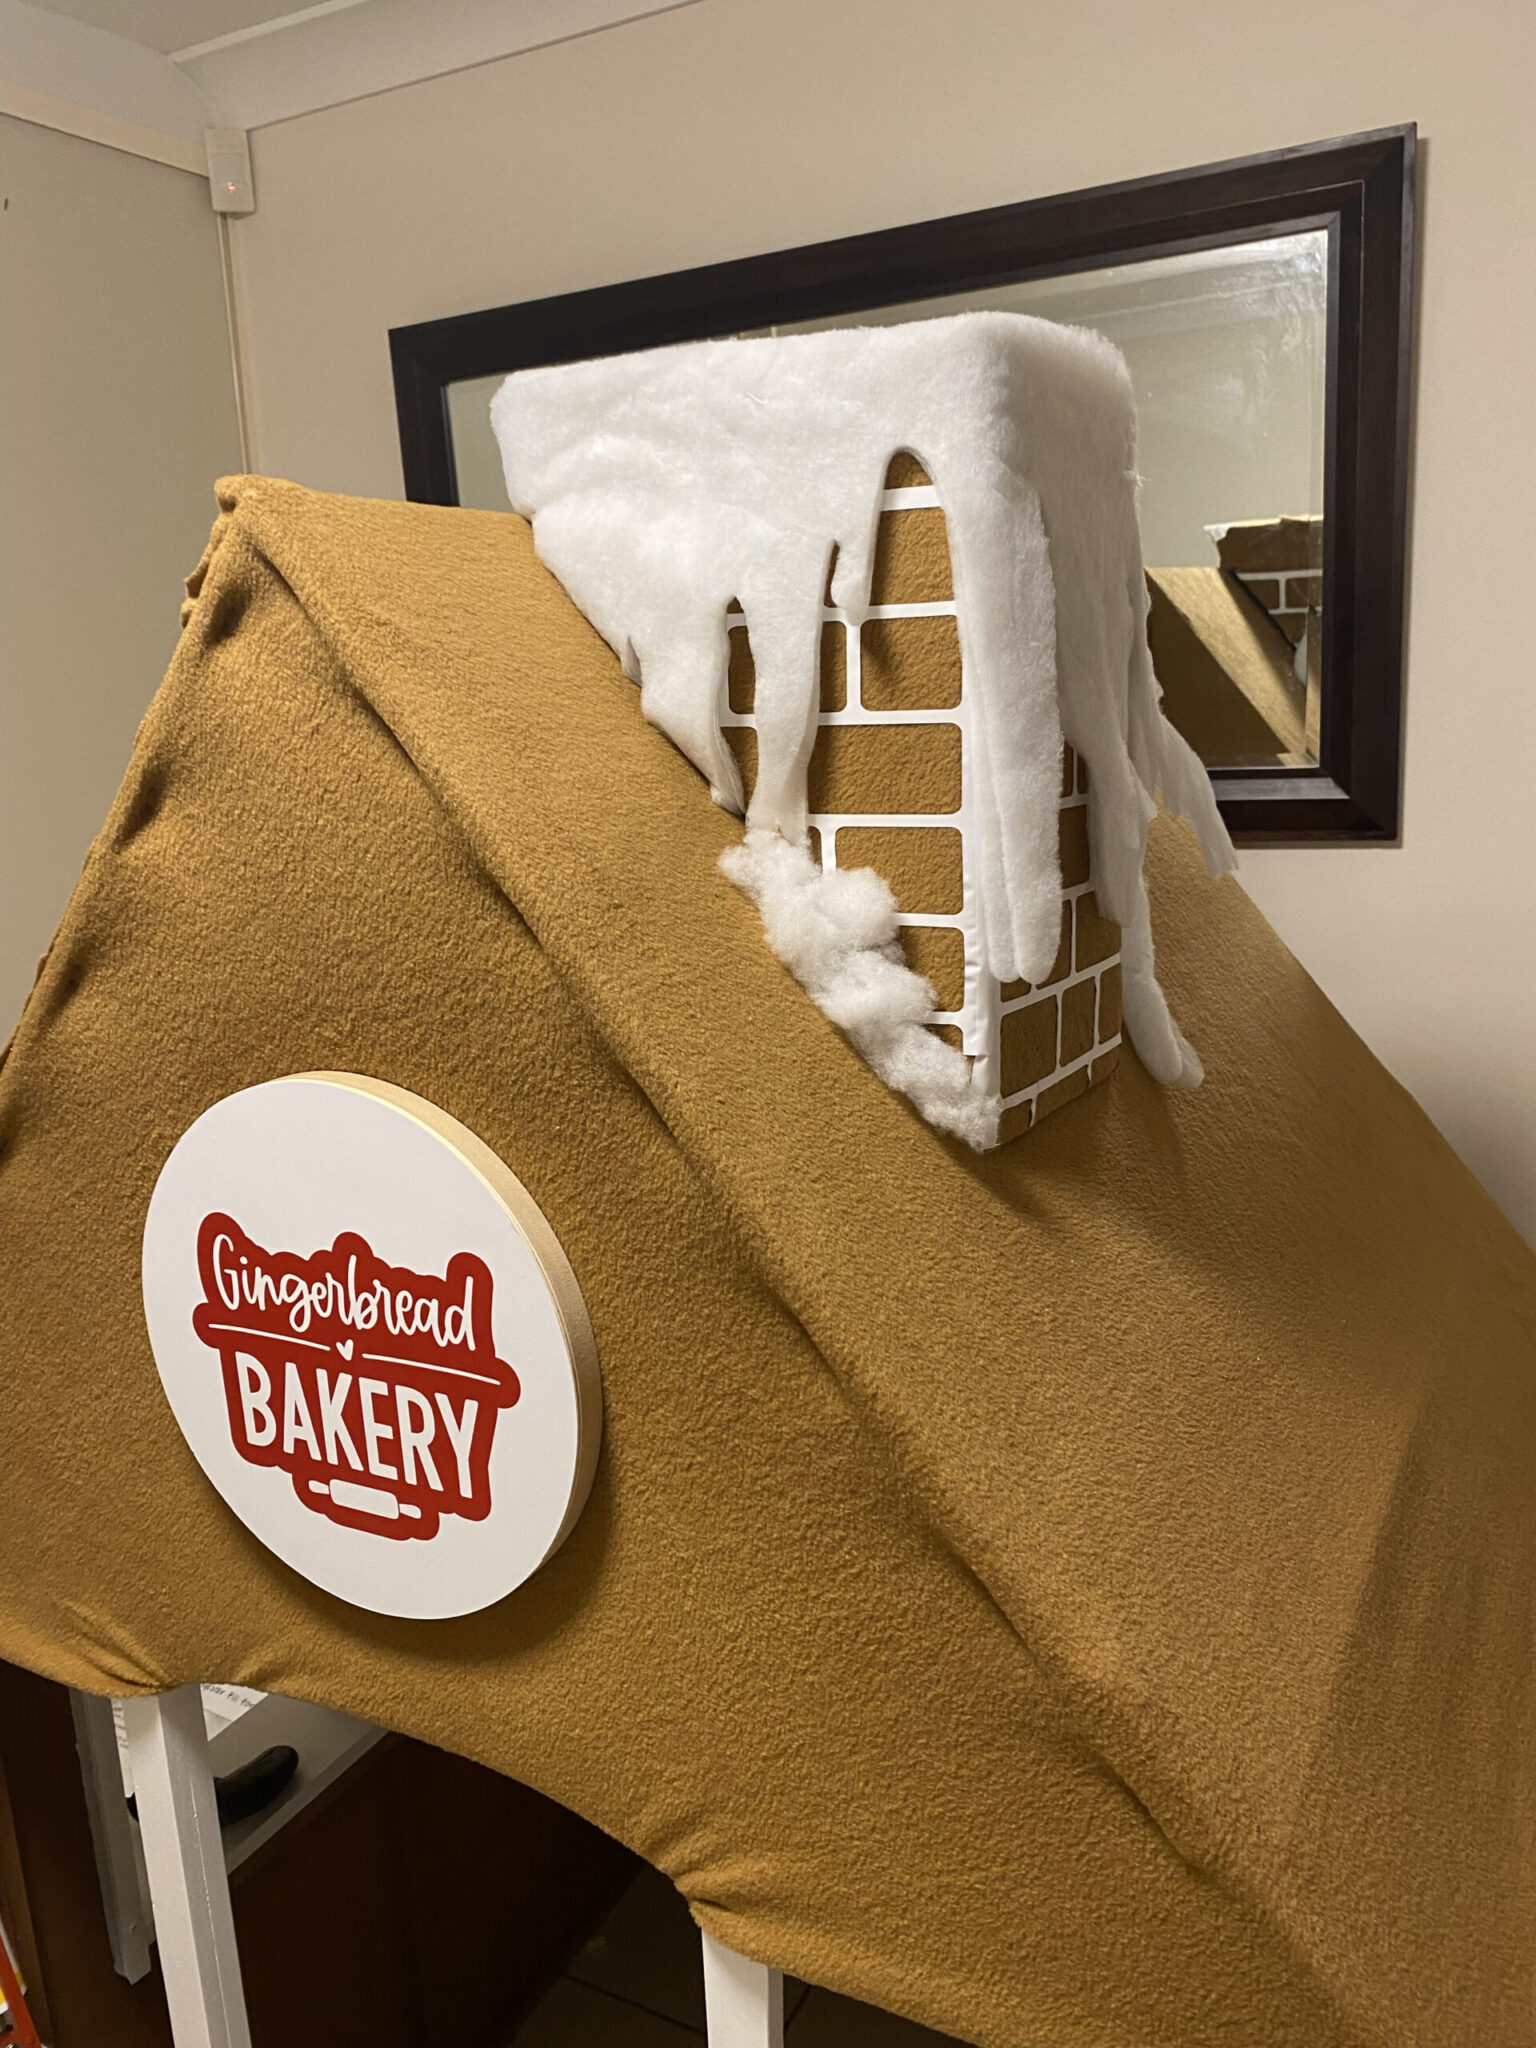
Oof. That fabric is a bit brown, but it’s not terrible.

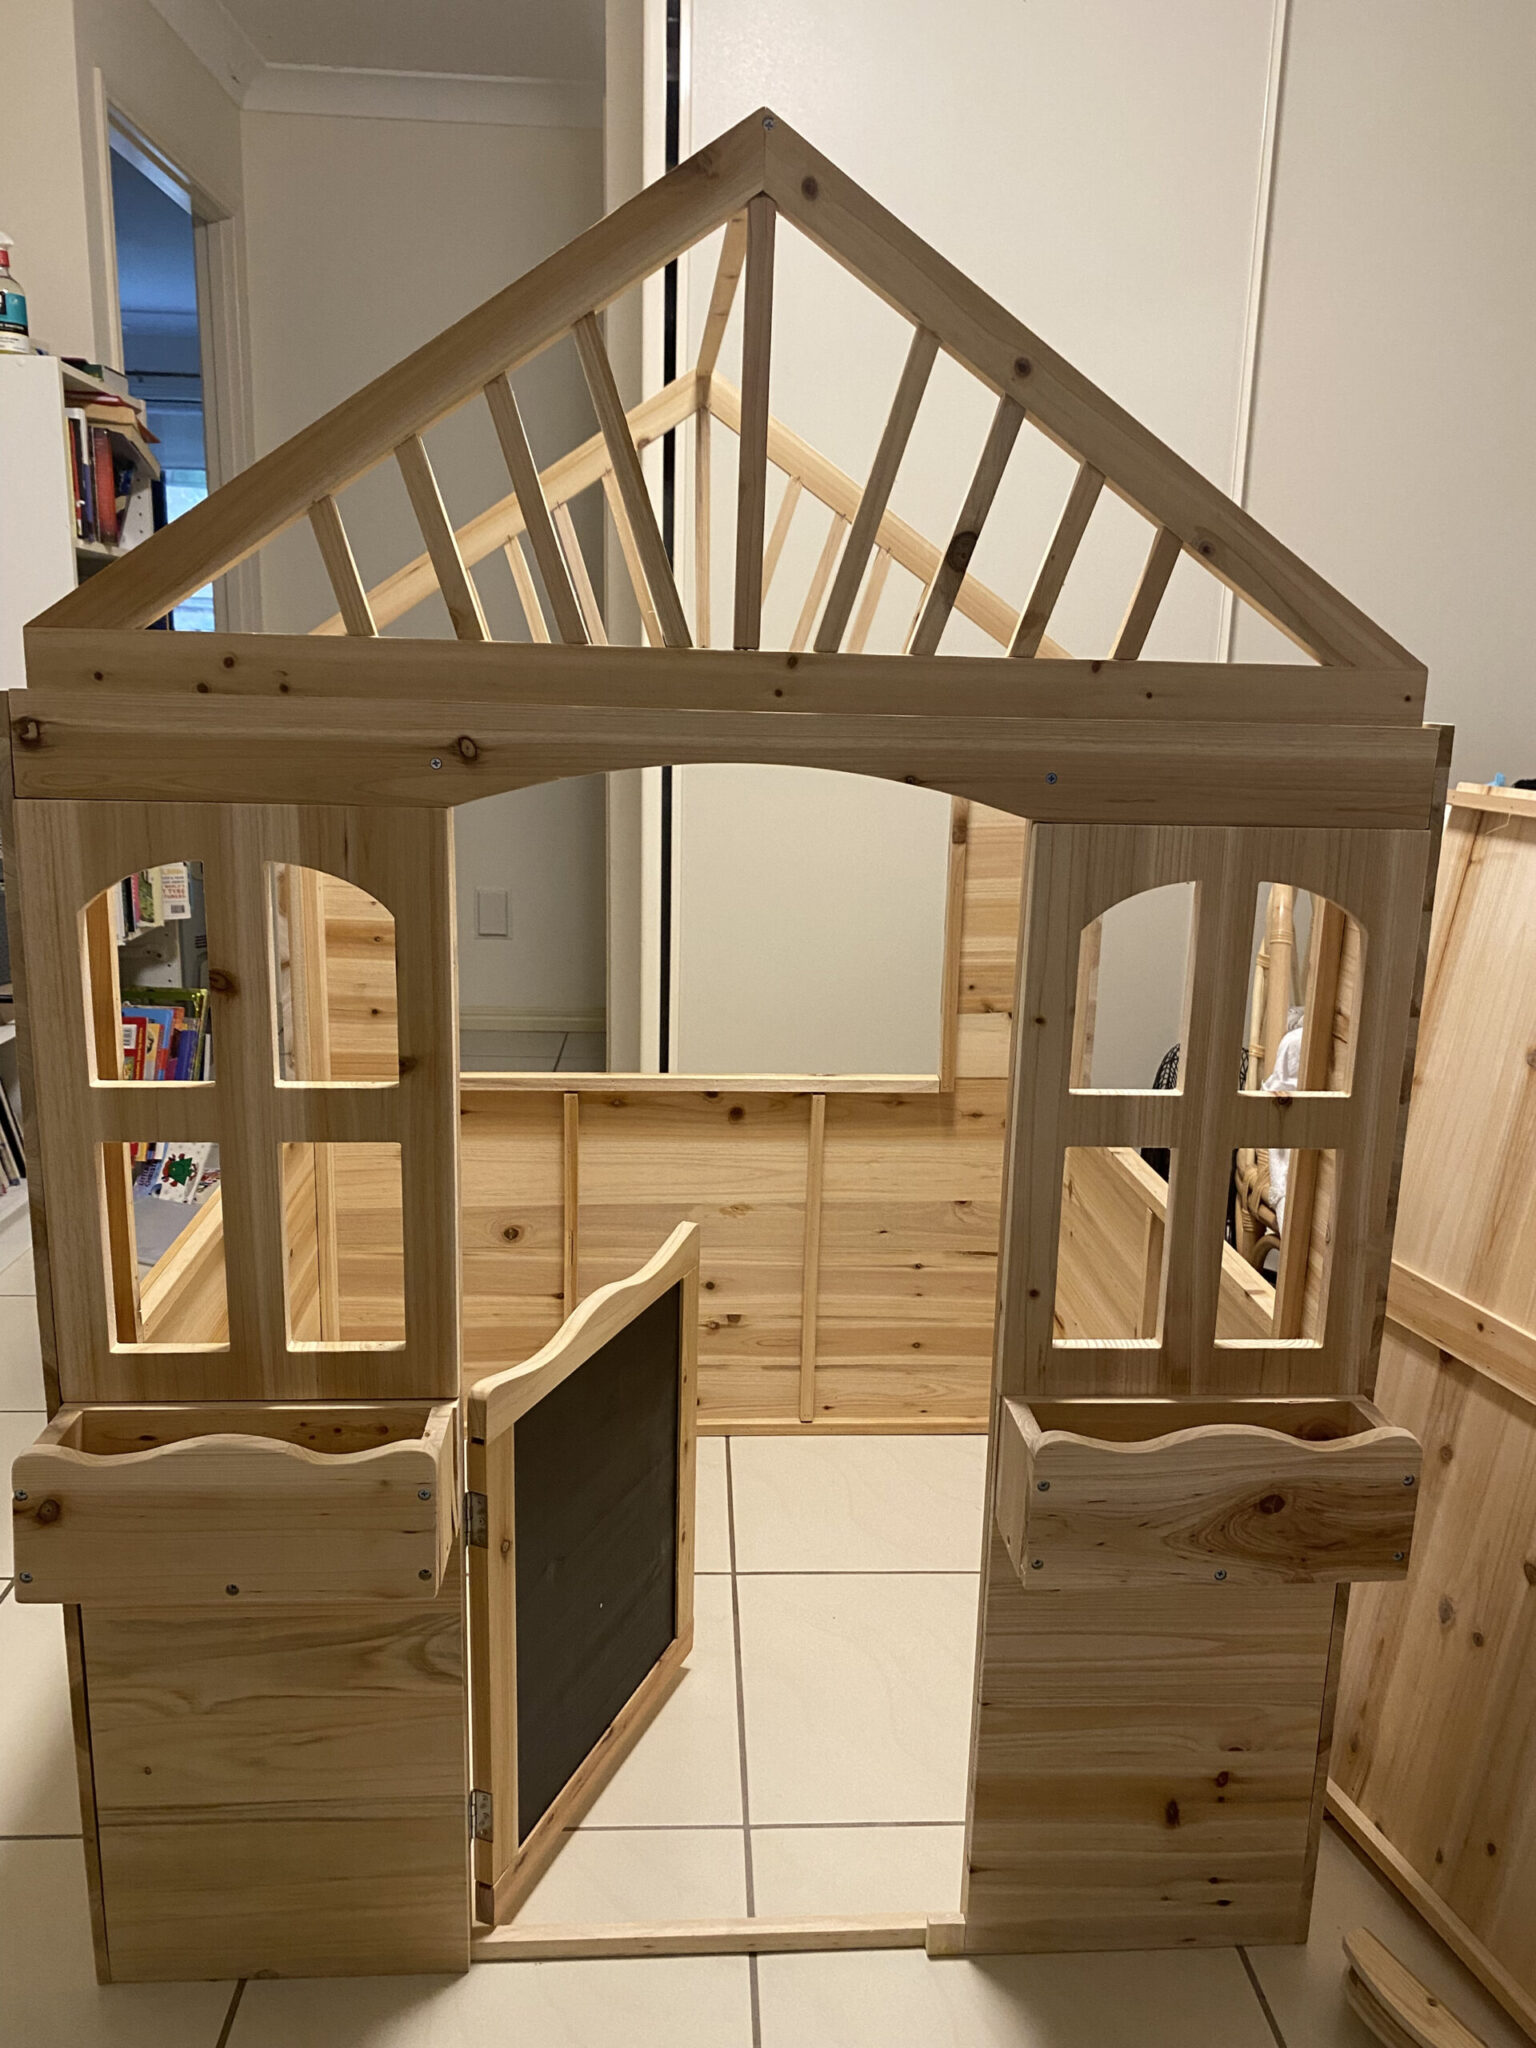
Next, the painting dilemma. What colour. I was mad-keen on painting the inside black for ages, til I was helpfully told that perhaps it will look like burnt gingerbread.

Point taken. So I stick with a black internal roof, in the hopes of adorning it with fairy lights later.

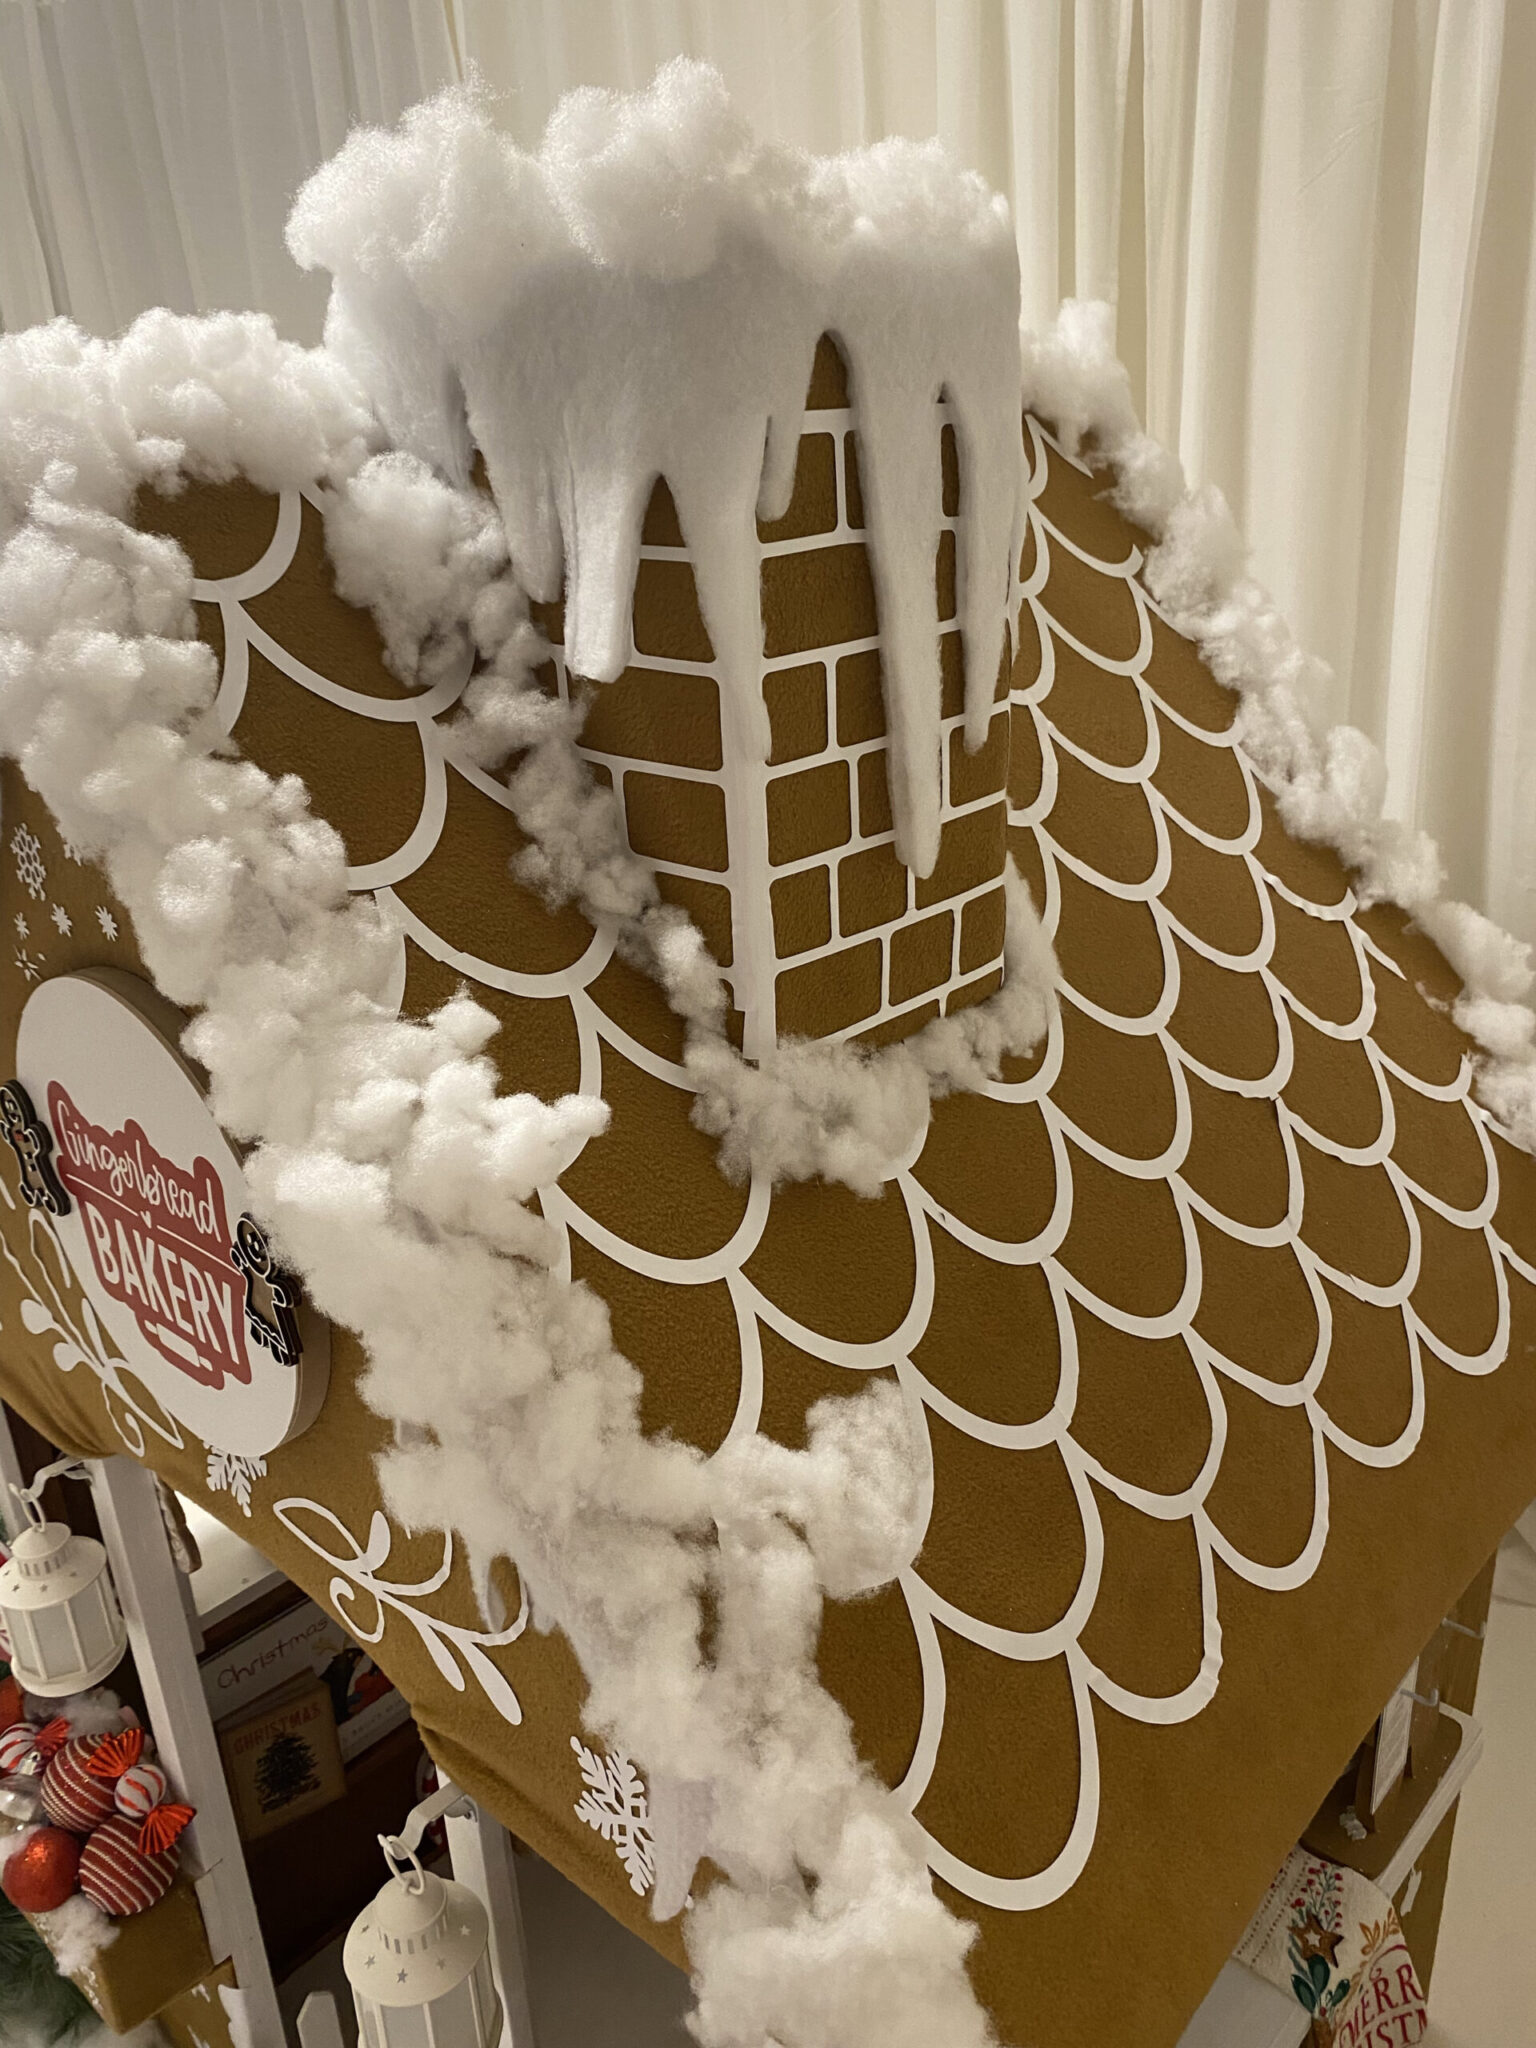
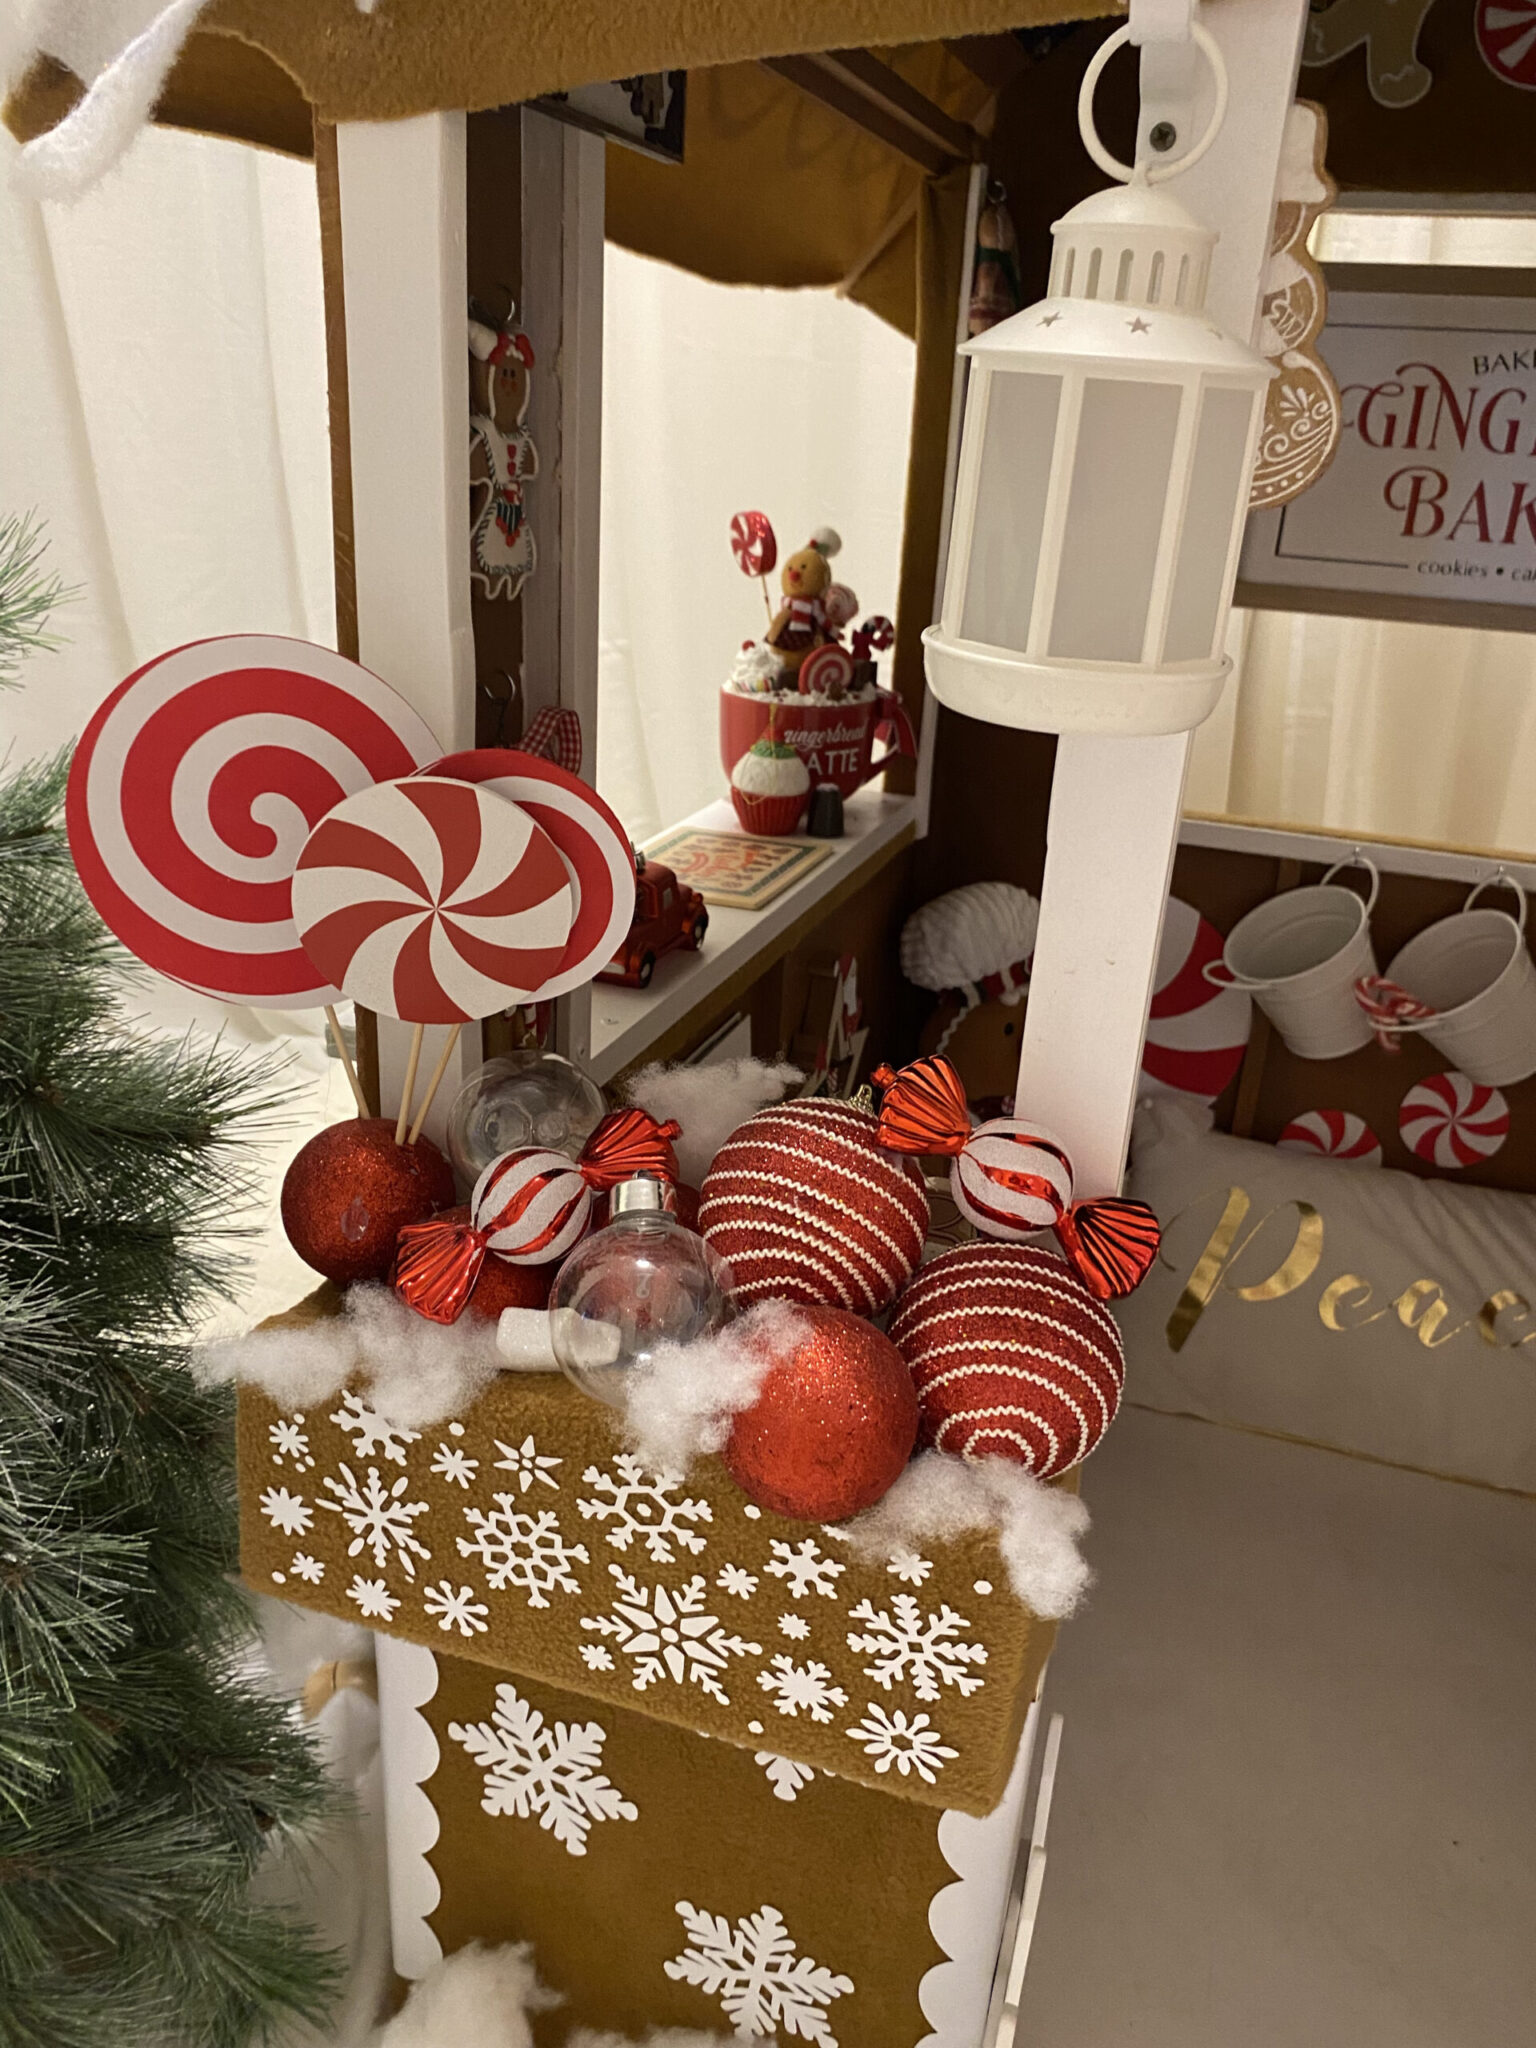
By now it’s looking like a brown cubby, but nothing like a Gingerbread House.

(Probably by now if you’re going to paint your own cubby, it should probably be done in the pre-build stage. Like, after foundations, but before lock-up. But heck, I don’t have time to think about things like that).

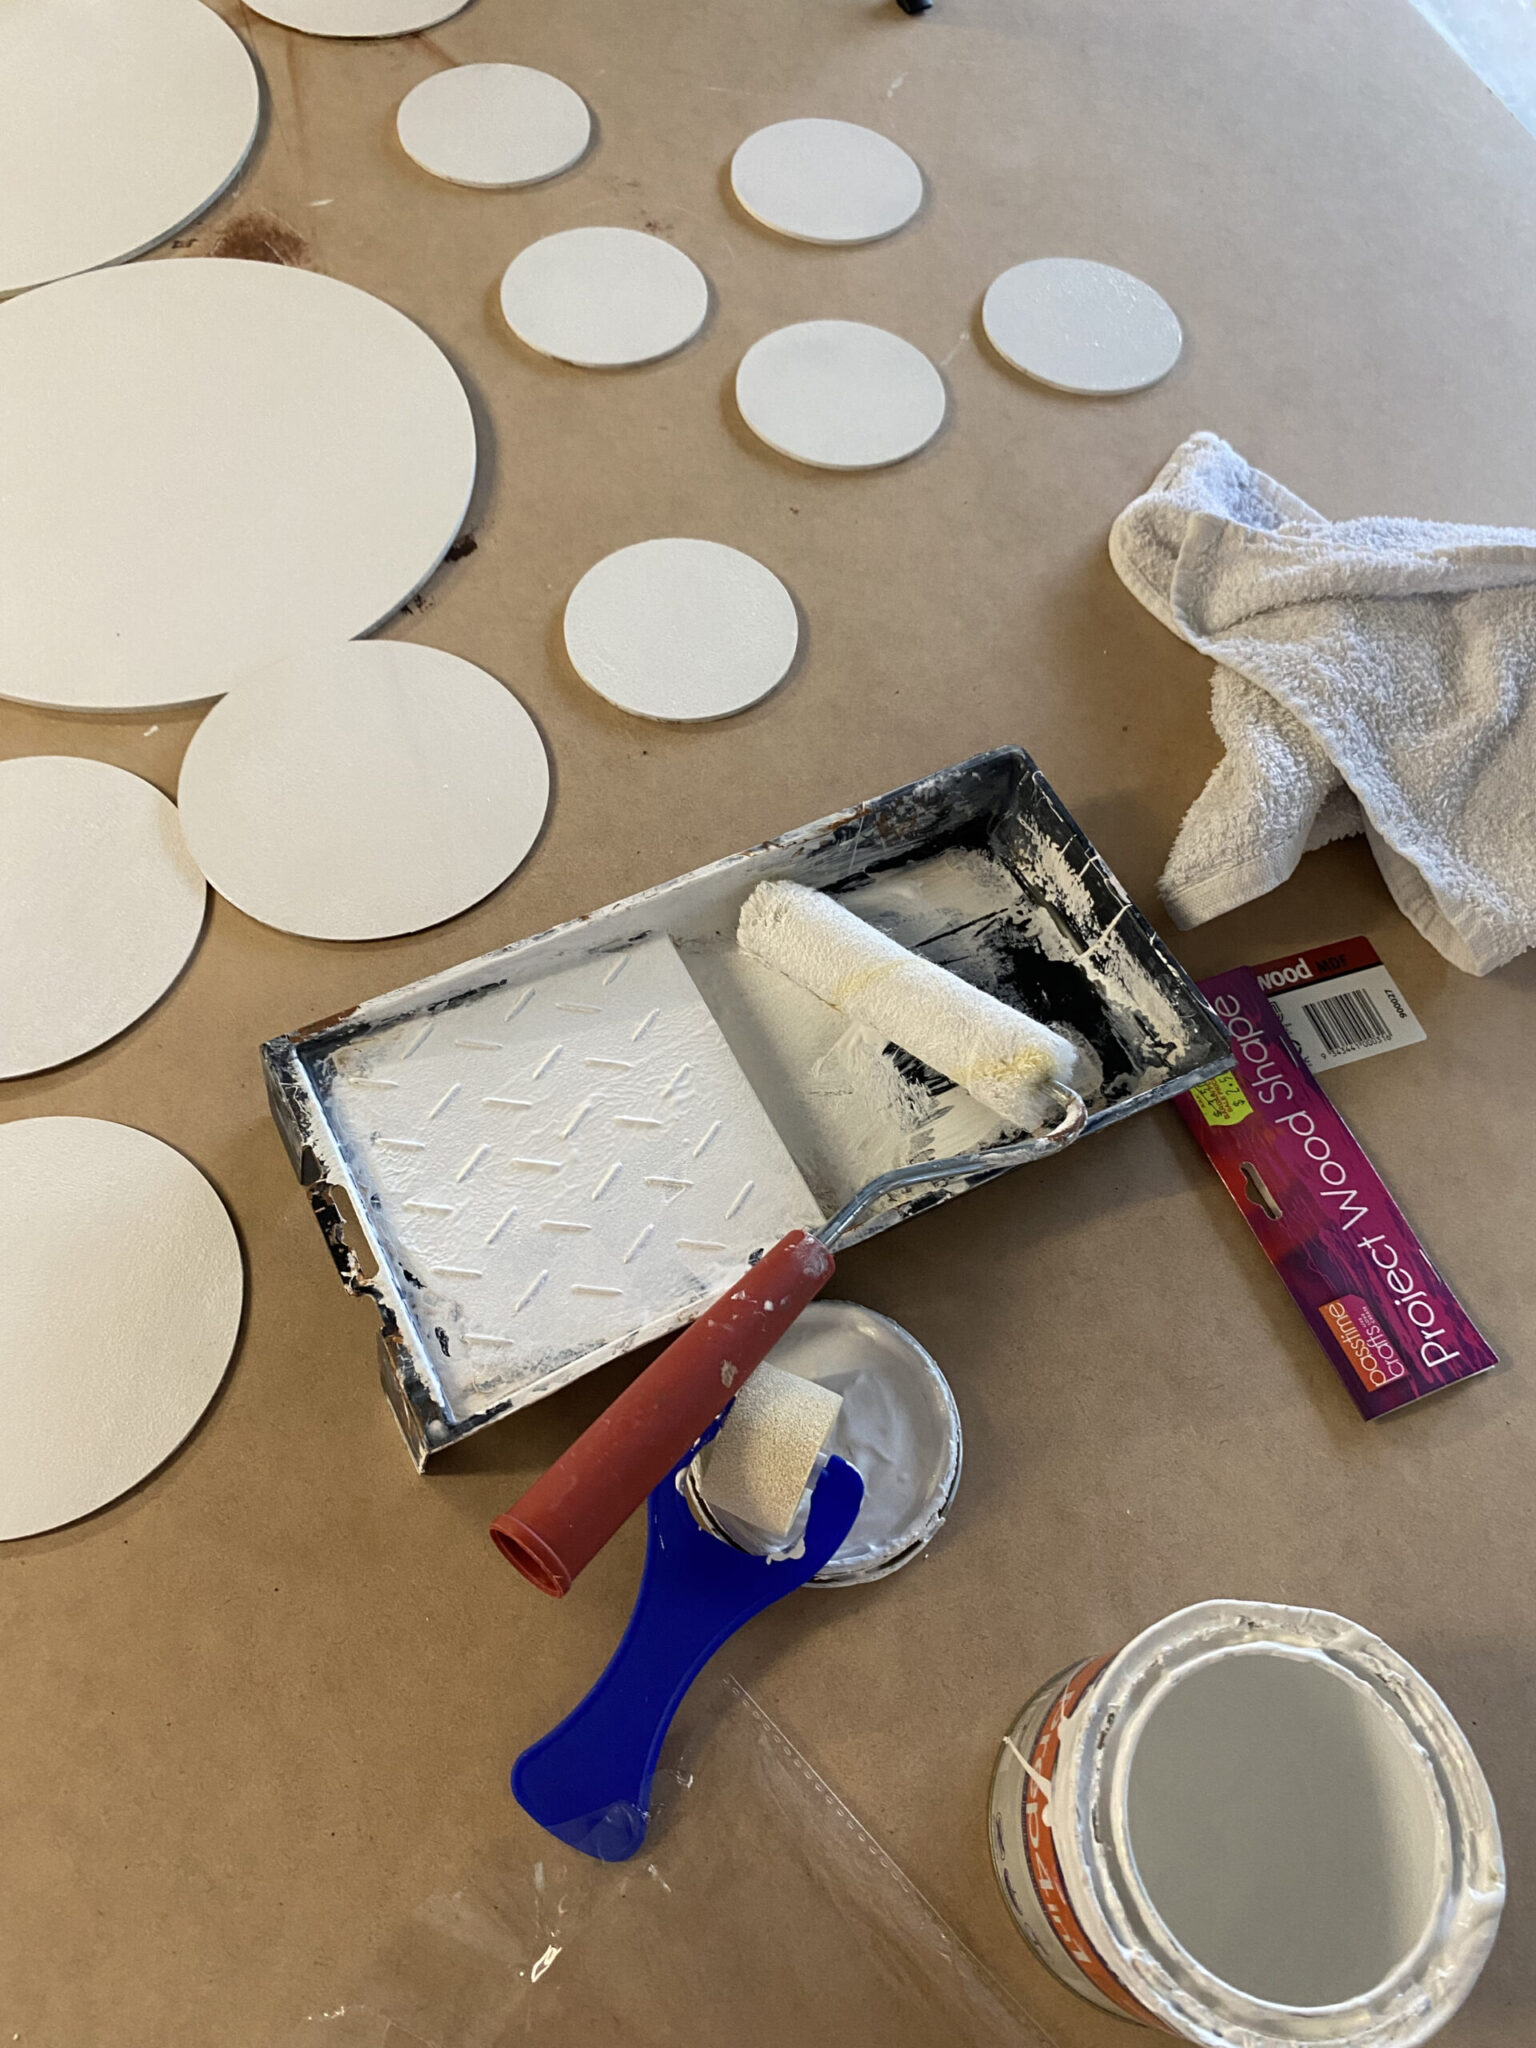
So I flung the tin of paint open and rolled it on, wiping paint off the floor as I went.

what's the plan?

I go back to my drawing board on Pinterest, and I realise.

Gingerbread houses have high-pitched roofs.

MINE DOESN’T.

No wonder it still looks like a brown boxy cubby.

I wonder if a higher roof is doable. I could just whack some panels over the existing roof, and somehow clip them together.

That’s it – I’m on a mission. Build a steeper roof.

So I measure it up and confidently head to Bunnings, where I spend over an hour browsing the timber, melamine, gardening section, plumbing supplies, clear roof panels, and trying to decide what would work.

I come home with a car full of large MDF panels and a plan in my head, before I look at the roof again, and wonder if I could just lift it higher.

WITHOUT all the stuff I’d just bought.

Ugh, all it needed was a simple renovation with 2 long pieces of pine.

raising the cubby roof

As I’ve now been using power tools for a week, I’m over-confident and completely able to engineer a new roof, so I attach a simple timber “gutter” to hold the roof higher. Like a horizontal truss. Pretty sure that’s a building word.

I install the pine, and simply lift the roof higher. It comes together at the top, and screws down safely, with a beautiful, Gingerbread-shaped high pitch.

It works.

Now there’s way more standing height, and the roof is firm and secure, screwed into the frame. It’s not going anywhere.

Hey presto – a roof renovation was all it needed to be lookin’ like a Gingerbread House!!! Woohoo! It’s coming together nicely.

making the signs

My little house looks fab now, and it needs some signage, so cue the Cricut!

In typical “me” fashion I abandon the power tools and paint, and change my focus to making the house more “Gingerbread-y”. Obviously in Christmas colours.

I mockup a few signs, buy an SVG on Etsy, gather my vinyl supplies, and print out the signs.

A circular piece of timber from Spotlight was the perfect size for the front sign, and the rectangular triptych photo frame at the back that I pulled apart. I only wanted the frame, and it was cheaper to buy a photo frame and throw out the glass, then make one.

the massive task at hand

I formed a list of what else needs to be done.

  • Make more signs
  • Some sort of Gingerbread design on the roof
  • “Pretty it up”
  • Add lots of Christmass-y decorations


A huge pile of rubbish and offcuts formed on the floor beside my desk, leading to the Gingerbread House.

Loose staples on the floor.
Rolls and rolls and rolls of vinyl.
Screws lying around.
Lost and found and (lost again) drill bits.
Hot glue sticks.
Pillow wadding fluff. 
Bits of timber.
Dust.

The chimney was a spur-of-the-moment-idea that goes like this:

  • I think there should be a chimney.
  • I see a box on the floor.
  • Cut the box on an angle, to sit on the roof. I’m not good at cutting angles, so it takes a few turns, and the box keeps getting smaller.. but it’s ok, now we have a chimney.
  • Attach a horizontal piece of timber to the top of the roof, and the chimney sits flush on there, easily removable.

Gosh. I’m impressing myself.

My trusty little Cricut gets a workout and a half, making 18 different 12×12 inch roof panels out of vinyl while I binge-watch “The Watcher” on Netflix. I mockup patterns for the chimney and roof, measure and re-measure to ensure the patterns fit, load vinyl in and out of the machine, and tick over 15,000 steps a day walking up and down the stairs between my computer and the epic build.

Somewhere in here is normal day-to-day life. Photo sessions, client briefing, editing, tax. Don’t forget to submit my BAS. Parenting, school dropoff and pickup, gymnastics, Ninja, guitar lessons, doctor appointments, pilates, exercise classes, lunchboxes to make, errands to run. Spotlight, Bunnings, Kmart. Rinse and repeat, then come home, crawl into the cubby and get work done.

it's all in the details

The roof is pretty straight-forward – make it look like snow.

On goes the fluffy snow stuff. Hot-glued fingers and spindles of cloud-like pillow wadding is stuck everywhere.

It’s looking good, but styling this thing is HARD. And time-consuming.

My plan is to fill it with stuff. Lots of expensive Christmassy-gingerbread-stuff.

I buy new baubles, get home and smash one on the floor straight away (ughhh). I use anything red/white that fits the brief, and practice laying it out, but it needs more. It’s suddenly a really huge thing to decorate!

I buy some Christmas books, build a shelf and attach it to the wall.

I make candy lollies out of circular wood on a rainy day, paint them, and attach swirly vinyl patterns, to look like extra-large lollies (or candy, for Americans!).

I phone a friend for help on the styling, and my sister patiently helps me style the set over messenger, and gently tells me when I’ve bought the wrong colour buckets and I can’t use it now. I run it all past her for approval.

.

making the scalloped roof design

Now my little brown Ginger house is looking excellent, but it needs more.

A proper Gingerbread house has lashes of icing in pretty designs, so let’s give that a go, hey!

I think of options, and grab the no-more-gaps stuff, squeeze it onto some cardboard and see if I can create the scalloped design.

It’s way too tricky, and impossible to look perfect.

Discard on bench.

Go back to the Cricut and design it myself, by making a few circles into the scalloped design, and multiplying them.

I stay up past midnight, printing roof designs, snowflakes and swirls on the Cricut, weeding vinyl (that’s a Cricut term for removing the image from the print), and verrrrry patiently adhering it to the fabric. It’s not meant to go on fabric, but I’m asking it nicely. And hoping it sticks and the kids don’t rip it off.

By now I’m really proud of my Kmart cubby! I’ve never seen a life-size Gingerbread house like this, so I’m thrilled to have made one, albeit exhausted having spent hours on it, every day for weeks.

Time to add little white picket fences, snow, vinyl stepping stones and fill it with treats for the kids to find!

Fill the diffuser with ginger, clove and orange, for a soothing Gingerbread smell.

Check everything expensive is glued down to avoid breakages.

And hope the kids freaking love it.

Brisbane Christmas photographer

"it's not done til it's overdone"

 I’m exhausted but super happy.

It started as a Kmart cubby house hack…. turned into gorgeous Gingerbread wonderland for my clients!

Now I have my Farmhouse Christmas set to style in the Studio, so I move from one set to another.

And my husband and I laugh to each other and say “It’s not done til it’s overdone”.

I’ll be back again, crafting, next Christmas.  x

the 2023 update...

Now that this epic Gingerbread House of mine is built, done and dusted, it’s sadly all over, and I’m onto new plans and builds for Christmas 2023.

I was extremely excited to sell this beautiful piece to a BAKERY – yep! They’re not gonna cook it (hopefully) – it’s going in their beautiful Christmas display for 2023.

I’ll update you all when this happens, and let you know how to visit it once more! x

Happy Christmas (nearly!) x
Claire 

5